Installing Java JDK
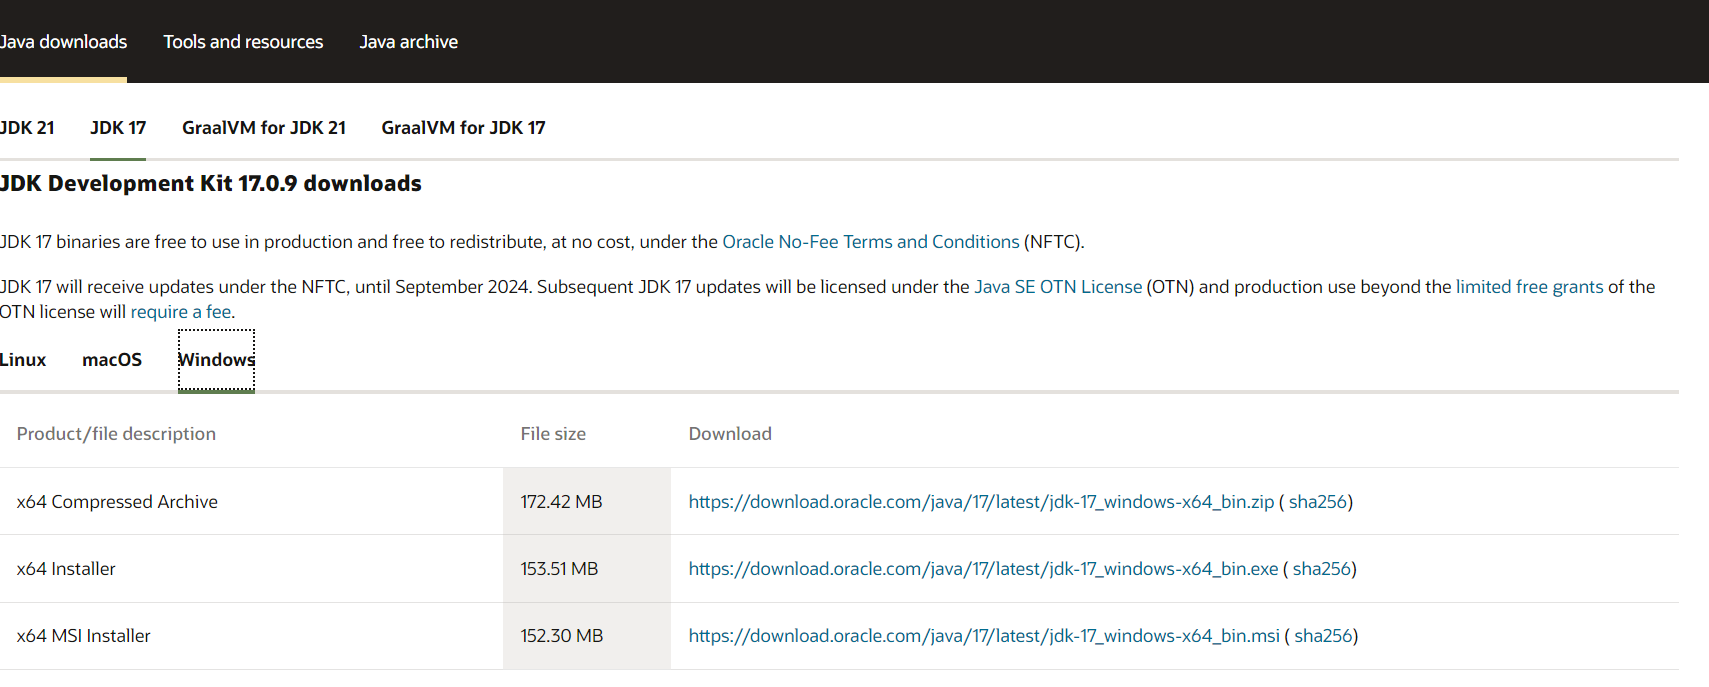
To install Java JDK on your computer, first go to Oracle and head to the 'Downloads' section.
It is ultimately up to you which one you wish to install, but for the purpose of this demonstration, I'll be installing JDK 17, specifically the x64 Installer for Windows, but you can also download it for Linux and MacOS.
You may have to create an Oracle account to download the installer, but that's quick and easy.
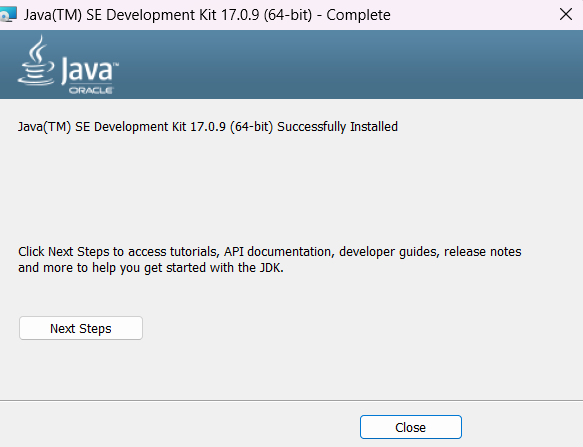
Once you click next and choose where to save your files, it will take a minute to install and then you'll see this box which you'll hit 'close' on.
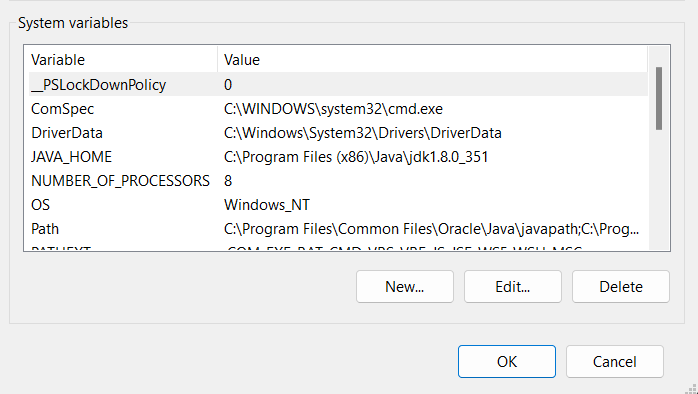
Next, you need to choose the path, and you can do this by opening your control panel, going into 'Edit the system environment variables' and choosing the 'Advanced' tab.
Once in the 'Advanced' tab, you need to click on 'Environment Variables', which will open up this window where you will then choose Path:
This will open once you choose 'Path' and click 'edit'.
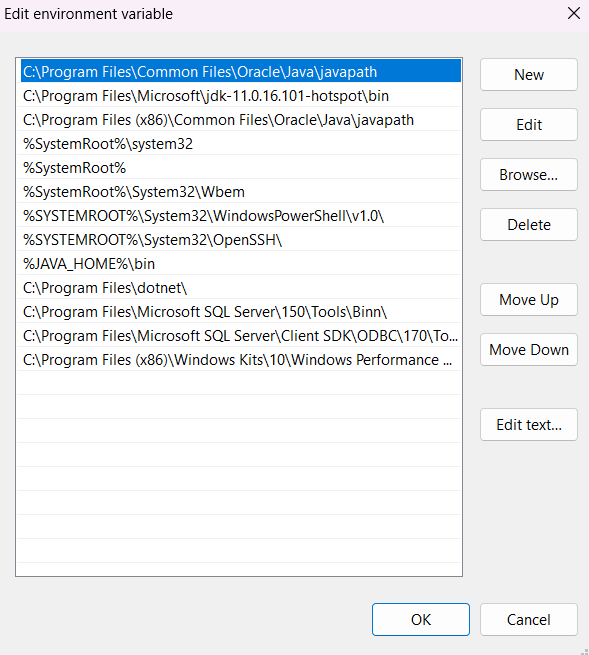
As you can see there are multiple paths on my device, however, yours will have fewer paths.
Once there, you click new and type in the following:

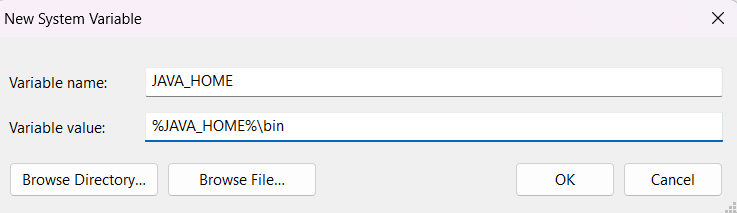
Finally, go back to system variables again and click 'path' - 'new' where you will name the variable JAVA_HOME and direct it to the bin folder again: %JAVA_HOME%\bin.
Once that's done, open the cmd prompt and type in java -version to see that you have Java installed.

Congratulations, you now have Java JDK 17 installed!